

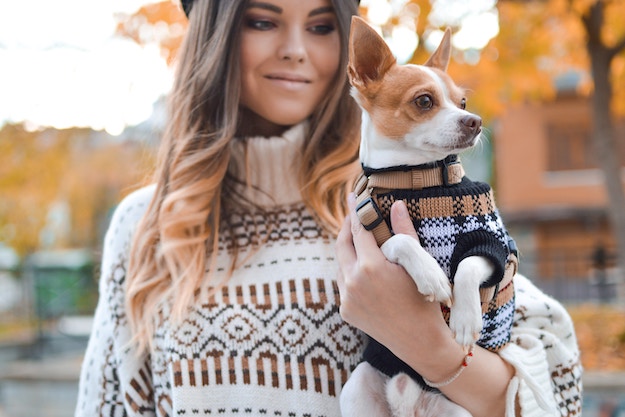
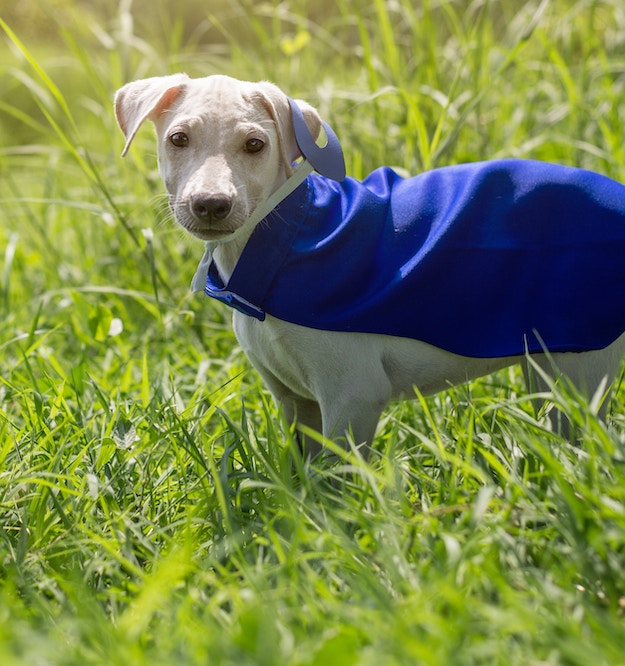
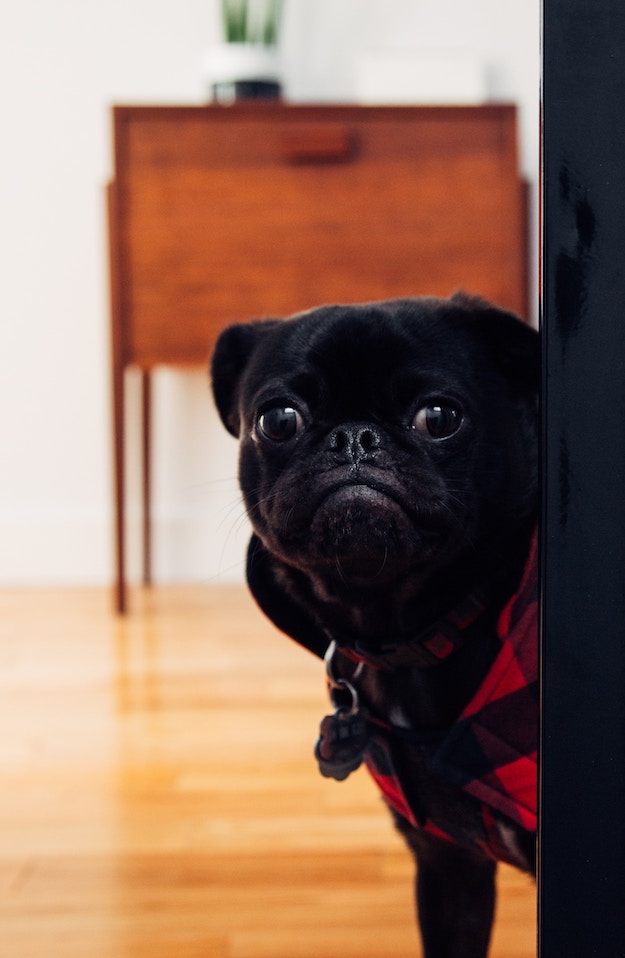
Winter can be a rough season for our beloved dogs. Just because they are covered with hair doesn't mean they are immune to the cold temperature. Help your pet by making this adorable and warm dog coat! Not only that, if you’re after a fashion statement for your pooch, then read on and see how to keep them warm and stylish in this cold season!
How to Sew a Dog Coat For Your Favorite Pooch
— This post is courtesy of sewing.com and shared with permission —
Some prefer buying ready-to-wear pieces but often these are left wanting and generally ill-fitting for your dog. So, if you’re looking for something that's not only stylish but also the perfect size for your best buddy, why not make your own! In this post, we are going to share a video tutorial from our friends over at Professor Pincushion on how to make a dog coat. Keep reading for the step-by-step instructions!
If you're getting your winter coats ready, then your beloved pooch will appreciate having one, too. We are not the only ones who need to keep warm this winter, so do our pups. If you are handy with a sewing machine, why not make a coat for your best buddy! This tutorial will certainly inspire you (as it did me) to make a dog coat. So, let’s get started!
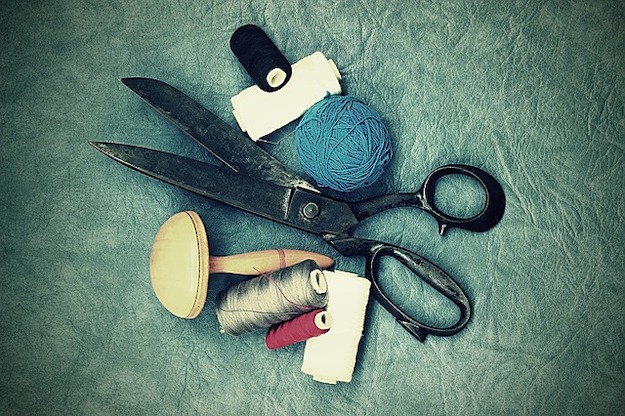
Things you will need to make a dog coat:
For the pattern:
- Pattern paper
- Tape
- Scissors
- Flexible tape measure
- Dog measurement chart
- Straight ruler
- French curve ruler (optional)
- Pencil
For the assembly:
- Sewing machine
- Straight pins
- All purpose thread
- Fabric scissors
- 1-2 packages of extra wide bias folded tape
- Fabric marker
- Hook-and-loop fastener
- Fleece (size will depend on how big your pattern is)
Let's get started:
Step 1. Take the measurements of your dog
Using the dog measurement chart, you are going to take the measurement of your dog by using the flexible tape measure. Download the dog measurement worksheet here!
a. Neck circumference – take the tape measure at the base of the neck and measure all the way around the dog's neck.
b. Back length – from the base of the neck, straight across the back of the dog, to the base of the tail.
c. Chest circumference – just like the neck circumference, but you are going to measure all the way around the fullest part of the dog's chest.
d. Chest depth – it is a little measurement right on the dog's chest. Basically, it is just to determine how wide you want the straps that go along the front of the dog's body. So, you will have to measure from the base of the neck down to where you want the end of the strap to be.
e. Side depth – measuring from the center of the dog's back along the side, and stopping where you want the edge of the coat to fall on the dog's side.
f. Neck to strap edge – this one is a little bit tricky. As you can see from the chart, there is this little brown measurement right in the middle of the neck circumference and the back length's starting point. So now, you have to imagine that you want to take a measurement from the base of the neck to just pass into the dog's front leg (you can see the dashed line in the chart). The imaginary line goes straight up to the dog's back from the back of the leg, and take from left to right. This will tell you where you want the strap that's going across the stomach to start.
Step 2. Tape down a sheet of your pattern paper
Now, we will draft a dog coat based on the dog's measurements. The first thing you'll draw on your pattern paper is a rectangle that is the back length measurement by the side depth measurement.
Step 3. Divide the neck circumference measurement
Take the neck circumference measurement and divide it in half.
Step 4. Extend a line from the rectangle
Take one side from the measurement of the back length (22″ in the example given) and extend a line from the measurement that was divided from the neck circumference (8″ in the example given).
Step 5. Draw two more lines to create a small rectangle

At the end of the line (created in Step 4), draw a line straight down that's the same length as the chest depth measurement. Draw a line connecting the bottom of this line back to the original rectangle. Now you have a smaller rectangle connected to the larger rectangle. This smaller rectangle will eventually become the strap that goes across the front of the dog, the neck strap.
Step 6. Plotting the neckline
At this stage, you will be dealing with the lower right corner of the large rectangle, or the area where the small rectangle is located. Starting from the bottom corner of the large rectangle, you will mark about an inch upward (if your dog is smaller, mark only about half an inch).
Step 7. Measure the bottom of the small rectangle

Take the measurement of the bottom of the small rectangle, divide it in half, and mark the center.
Step 8. Draw a smooth curve below the small rectangle
Using the french curve ruler, draw a smooth curve connecting the marks you've made on the small and large rectangle in the previous step.
Step 9. Measure the length of the new neckline
Take your flexible tape measure and measure the length of the new coat neckline, (bottom corner of the big rectangle, along the curve, and bottom of the small rectangle). You'll want this line to be 1″ longer than half the neck circumference. (In the example, half the neck circumference is 8″, so I would add 1″, giving me a total of 9″.) If the neckline length is too long, you can always shorten the smaller rectangle, bringing it in, until you get your desired length. 1″ is added to allow the straps to overlap.
Step 10. Shape the end of the strap
To shape the end of the strap, mark the middle of the chest depth line. On each side of the strap, measure and mark 1″ from the end of the strap. Use your french curve rule to draw a smooth curve to the center point. Once the end of your neck strap is curved, you can erase the corners of the small rectangle.
Want to see the full article?
Keep Reading Here On Our Sister Site Sewing!
Providing additional warmth for your pooch will surely help their body adjust to the cold weather. You and your dog can now enjoy going out for walks even during winter! Share this tutorial to some of your friends so they can make one for their pets, too. Enjoy!
What do you think of these dog coats? Let me know by leaving a comment below, and make sure to share some pictures if you tried making one! Give some love to your pooch with these dog treats!
Stay connected with us on Facebook, Twitter, Pinterest and Instagram!